
Table of Contents
Introduction
Chiles have been known to humans since prehistoric times in Peru. Their origin is believed to be in tropical America. The remains of the pre-historic Peru indicate that chillies originated in the Latin American regions of the New Mexico and Guatemala around 7500BC, as a wild crop.
Chillies come in many varieties, and each variety is grown in a different place and has a different flavor.
Chillies are chopped or ground as a paste or dried chillies are powdered and they are used in different cuisines.
Scoville heat units (SHUs) are used to measure the intensity or heat of chilli peppers. Different varieties of chilli have varying levels of heat.
Red, green, and yellow are the three main types of chilli based on color.
Vitamin C and vitamin B are very abundant in chillies, as well as potassium, magnesium, and iron.
Common names : Cayenne, Chilli pepper, Chitlepin, Jalapenos, Paprika, Green Chillies
Scientific Name : Capsicum annum
Names in Indian local languages : Hara Mircha / Hari Mirch (Hindi), Hasi Menasinakai (Kannada), Jeevisaang / Tanrni Mirsang / Tanrni Miriyasang (Konkani), Kancha Lanka / Maricha (Bengali), Lila Marcha (Oriya), Marcha (Gujarati), Mirchan (Punjabi), Pachamulagu (Malayalam), Pachchai Milagai (Marathi), Patchimirapa / Pachchi Mirapakayalu (Telugu), Pachchii Milagai (Tamil)
Climate requirement for Chilli farming
Chillies thrive in warm and humid climates with a temperature of 20-25 degrees Celsius.
As low moisture causes the fruit to drop, the crop prefers high moisture content. It is necessary to receive a good amount of rainfall for the chilli crop, but excessive rainfall can rot the crop.
May-June is the sowing time for Kharif crops, and January is the sowing time for summer chilli crops.
Soil requirement for Chilli farming
Chilies can be grown in many types of soils, but black soil is particularly conducive to chilli cultivation. Preferably a soil pH of 6.5 and 7.5 (neutral) is conducive for chilli cultivation.
Soils with loose sand and delta lands are also suitable for chilli cultivation. In order for the chilli crop to grow well, the soil should be adequately drained with no water stagnation.
Furthermore, acidic soil should be avoided.
Varieties of Chilli for farming
F1 Hybrids
Karan Arjun
Mahima-213
Naveli
Nisha-212
R K-1919
R.K.-219
R.K.-221
Sakranti
Solan Hot
Improved Varieties
N.P. 46
Agnirekha
AKC – 79-18
CA-960
G-3
Jayanti
Jwala
Kankan Kirti
Musahvadi
Pant C-t X – 235
Parbhani Tejas
Pbiile Sai
Phule Jyoti
Phule Mukta
Surkta
Suryamukhi
Indian commercial chilli varieties in South India
| STATE | COMMERCIAL VARIETY |
|---|---|
| Andhra Pradesh | 206, 235, Barak, Chapta, Chikkaballapur (Lavangi), Cullakayalu, Desi Sindu, Dippayerupu, G-1, G-2, G-3, G-4, G-5, Karakulu, Kiran, LCA-205, Maduru, Mota, Punasa, Sannalu, Sapota, X-235, Jwala |
| Karnataka | Bayadgi, G-1, G-2, G-3, G-4, G-5, Pusa Jwala, Jwala |
| Kerala | Jwala, Champa, CO-1, K-1 , Nandan, Sadabahar |
| Pondicherry | CO-1, CO-2, K-1, K-2 |
| Tamil Nadu | CO-1, CO-2, CO-3, K-1, K-2, PMK-1, PMK-2, Borma Wonder, Sannam, Palam |
Indian commercial chilli varieties in West India
| STATE | COMMERCIAL VARIETY |
|---|---|
| Goa | Cacana, harmal, Lavangi, Tanvati |
| Gujarat | K-2, Pant C-1, Jawahar-218, NP-46-A, Jwala. |
| Rajashtan | Pant C-1, G-3, G-5, CH-1, NP-46-A, Jwala |
Indian commercial chilli varieties in North India
| STATE | COMMERCIAL VARIETY |
|---|---|
| Bihar | Chittee, Moti Mirchi, Rori |
| Haryana | Pusa Jwala, Pusa Summer, NP-46-A |
| Himachal Pradesh | Hot Portugal, Hungarian Wax, Pachad Yellow, Punjab Lal, Sweet Banana, Solan Yellow |
| Jammu Kashmir | California Wonder, NP-46-A, Ratna Red |
| Punjab | CH-1, Sanauri |
| Uttar Pradesh | Chaman and Chanchal, Desh, Pahadi, Kalyanpur, Jwala Pant C-1, NP-46 |
Indian commercial chilli varieties in East India
| STATE | COMMERCIAL VARIETY |
|---|---|
| Assam | Balijuri, NP64-Am Pusa Jwala, Krishna, Surya Mukhi |
| Tripura | Balijwai, Jwala, Krisha, Suryamukhi |
| West Bengal | Akashi, Bow, Bullet, Dhala, Dhani, Kajari, Siti and Suti |
Indian commercial chilli varieties in Central India
| STATE | COMMERCIAL VARIETY |
|---|---|
| Madhya Pradesh | Agni, Pusa Jwala, Jawahar, Sadabahar, Sona-21 |
| Maharashtra | Bhiwapuri, Black seed, Bugayati, Chaski, Dhobri, Pathori |
| Orissa | Deshi, Jwala, Sadabahar |
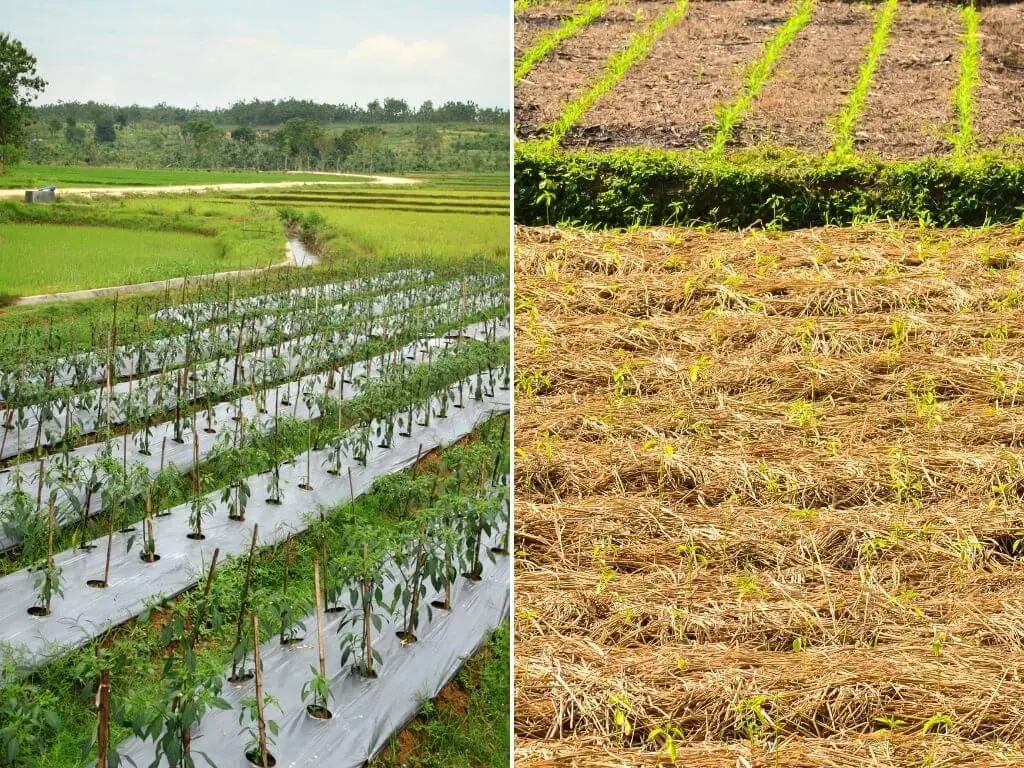
Land preparation for Chilli farming
The land for chilli cultivation should be well drained and well aerated.
The land should be given 2-3 ploughings and the compost should be spread 15-20 days before sowing.
By giving a break of 10 days and then ploughing the soil will make the excess moisture will evaporate and improve the clod condition of the soil.
*A must Read: Types of soil
Seed Treatment for Chilli farming
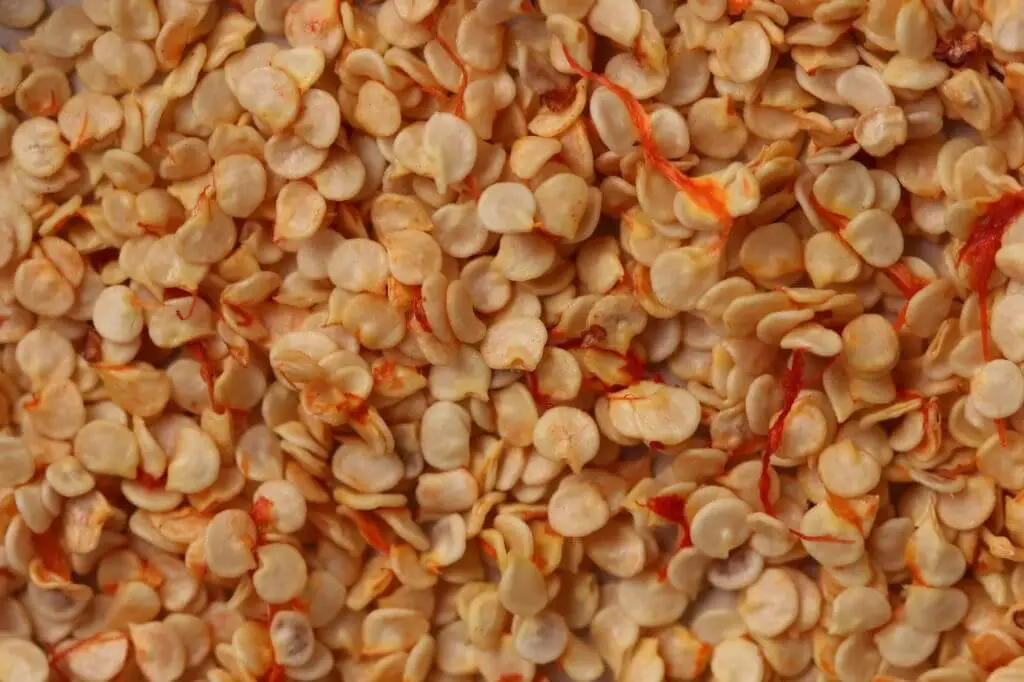
It is best to choose seeds from healthy, fully ripened, and dried chilli fruits.
Seeds should be treated with mercurial fungicides such as Cerasan or Agrosan at 2.5 grams per kilogram of seed for protection against seed born diseases.
You can either treat the seeds with Trichoderma viride at 4 grams per kilogram or Pseudomonas fluorescens at 10 grams per kilogram
Sow the seeds in a fine soil or ash to prevent seedlings from growing haphazardly.
It is recommended that seedlings be dipped in 1% Bordeaux mixture and dimethoate at a concentration of 17 ml/10 lit before transplanting in order to protect them against diseases and insects.
Sowing of seeds for Chilli farming
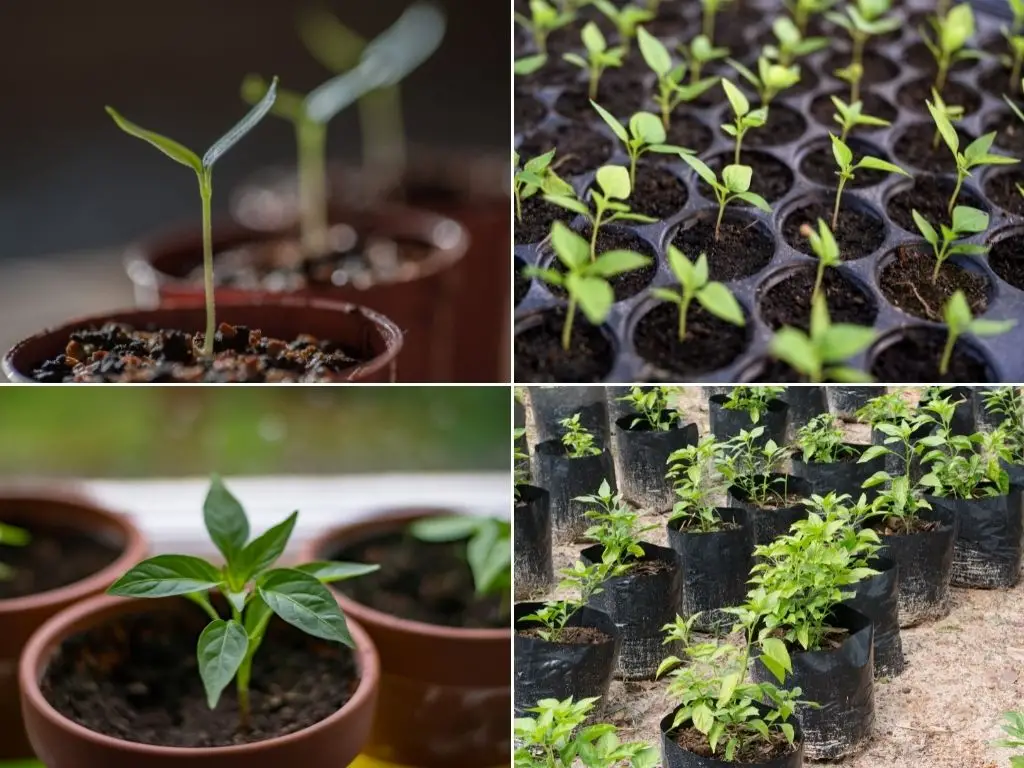
1. Sowing seed in nursery bed
Chilli seeds are used for propagation in chilli cultivation. The seed rate for chilli cultivation is 1 to 1.5 kilo grams per hectare. However, for hybrid varieties the seed rate can be 200-300 grams per hectare.
The first step in chilli cultivation is to plant the tomato seeds in well-prepared nursery beds. The size of the nursery bed can be 60 cm to 100 cm wide and length can be adjusted depending on the size of the available nursery area.
A spacing of 10 cm between the pits can be practiced while sowing in the nursery.
Seeds should be of good quality and well-formed when sown; diseased or broken seeds should not be used.
In order to achieve good yields, the field must be prepared properly and drainage problems addressed.
A hot climate is very favorable for the growth of the chilli, so if it is grown in such conditions, it would be best for the crop.
It is possible to cultivate chillies in nurseries or polyhouses in adverse weather conditions in order to facilitate seed germination and early plant growth.
Much like tomato farming, it is not advisable to directly seed chilli seeds into the main field for the following reasons:
- As the cost of good seeds is high, it is always advisable to grow chilli plant seedlings in a nursery where a farmer can control the environment. Controlling the climate in open fields is impossible and hence introduces additional risk monetary risk factors.
- It may not be time to sow seeds in an open field.
- The right spacing and sowing equipment are needed. Which adds to the requirement for more money and skills.
- Managing weeds might prove challenging.
- Only high-quality, well-formed seeds can yield good results when sown directly.
2. Transplanting the Chilli seedlings
For chilli seedlings to be transplanted, they must be hardened to withstand the climate and soil conditions. Hardening is a process of lowering the amount of available water to the seedlings in the nursery (also slowing the seedling growth process) so that it is easy for the seedlings to adapt quicker to the conditions of the open field.
In 3-6 weeks, the sown seeds in the nursery will germinate into small seedlings. These seedlings are ready to be transplanted in the main field.
Chilli seedlings which are not yet flowering or ready to flower are ideal for transplantation.
As we always recommend (especially for new farmers), it is always advisable to buy the seedlings from an experienced nursery or poly house owner/company. Although, the seedlings should be inspected first for their variety, size and quality.
If you are purchasing chilli transplants, keep in mind that container-grown chilli seedlings should be preferred over plants with no soil or bare roots.
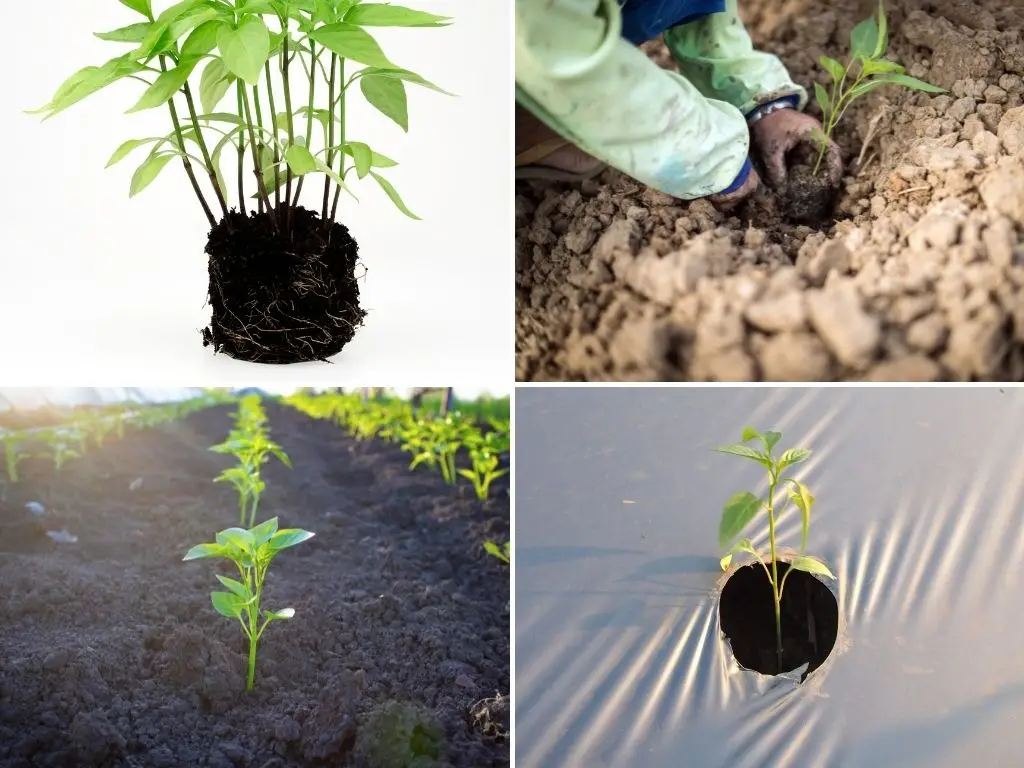
This is done because container or pot grown plants have better soil adaptation and are easier to root for chilli cultivation. Additionally, plants of this type stand a good chance of resuming rapid growth more quickly when transplanted in the field.
Immediately after removing the plastic from containers or after lifting them from nursery beds, plants must be transplanted to the main field area.
It is important not to allow the roots of the plant to dry out before transplanting, and if the transplant must be delayed for some time, then the plants must be kept in a cool area.
Set the plant 3 to 4 inches deep in the soil, and cover its roots completely with soil.
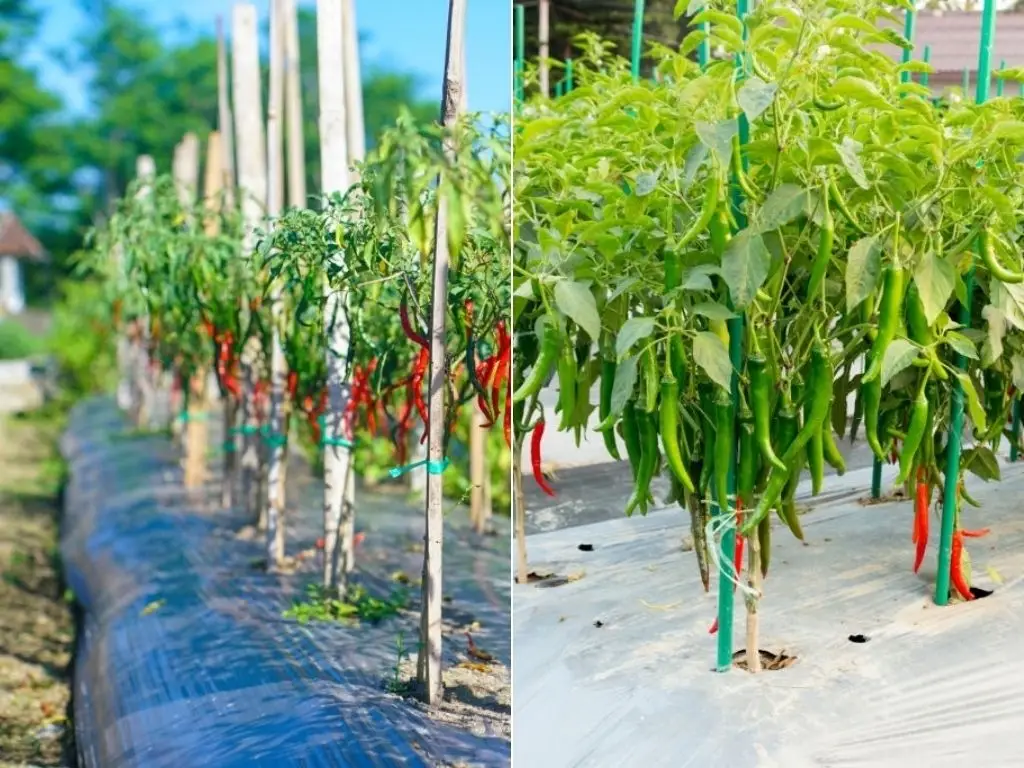
Plants should be watered properly after transplantation and given necessary support like placing a stick next to the plant in order to encourage growth.
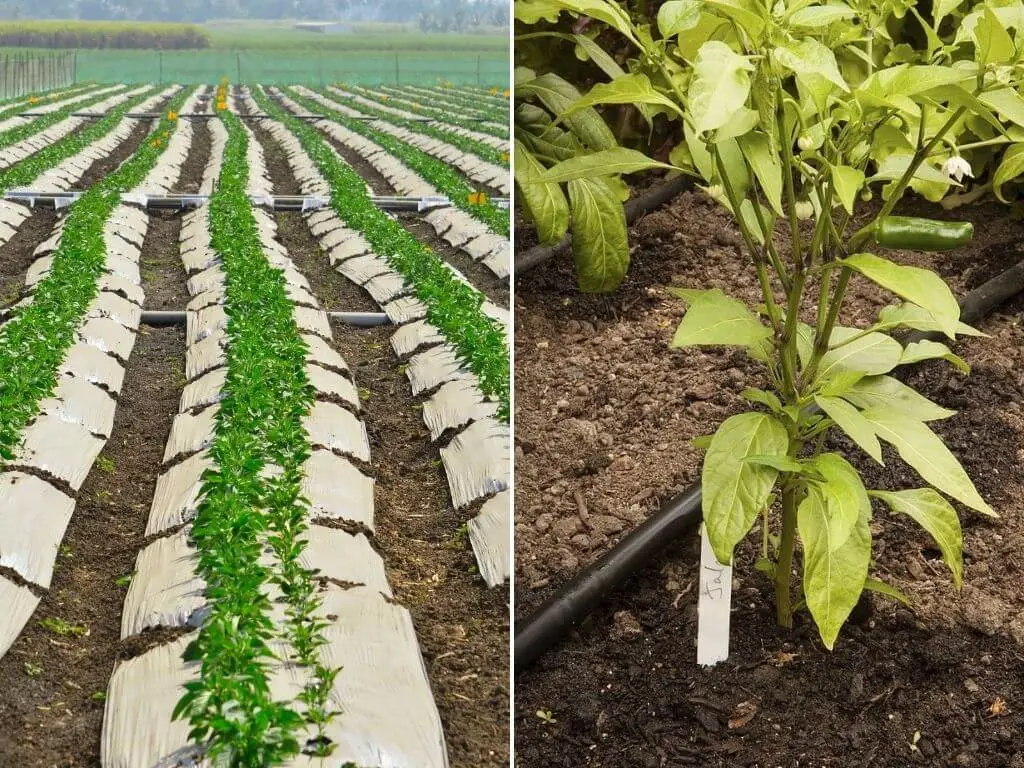
3. Spacing
For a good result, spacing of the plants is very important. For each plant to grow properly, there should be adequate space between them.
For most soil types, a spacing of 60 to 70 cm between the plants is considered adequate. However, a spacing of 45X45 cm and 60×30 cm is also observed. ( make sure to confirm the plant spacing depending on the variety of the chilli you are using for chilli cultivation)
While transplanting, it is important to consider the characteristics of the chilli variety when deciding the spacing between the plants. To ensure all plants are getting enough nutrients, it is important to consider the size of the plant and its health condition.
Inter-cropping in Chilli farming
Crops like tomato and some other small shrub varieties can be intercropped with chilli crops. Please read tomato cultivation here.
When choosing another crop, it is important to ensure that the plant does not grow too large or spread too wide, since the chilli plant is a small shrub that requires a lot of sunlight and heat to thrive.
Water requirement and management in Chilli farming
Water is essential for the growth of chilli plants. However, it is also important to ensure that water does not stagnate in nursery beds and fields.
Chilli plants can become infected by fungal infections if there is too much moisture. Therefore, it is important to decide when to water the plants and only water them when necessary.
Watering the plants when the leaves are drooping at 4 p.m. is a very good tip for chilli cultivation. The fruiting and flowering stages of chilli cultivation are very important and should be treated with care, such as avoiding excessive use of fertilizers, pesticides, and fungicides.
Fertilization and Nutrient Management for Chilli farming
For chilli cultivation, 25 to 30 tons of Farm yard manure (FYM) or compost per hectare can be used.
It is recommended to use 100 kilograms of N, 50 kilograms of P, and 50 kilograms of P per hectare of irrigated crop.
When transplanting chilli plants, 25 kg of P and 25 kg of N should be used.
After 30-40 days of transplanting the seedlings, apply another 25 Kg of N as a topdressing to the field. This top dressing can be reapplied on day-60 and day-90 also.
*A must Read: Guide to type of fertilizers
Weed Management in Chilli farming
Within 30 days after transplantation, all weeds should be manually removed.
A second method of controlling weeds and loosening the soil is hoeing.
As pre-emergence herbicides, pendimethalin at 1.0 kg a.i./ha or fluchloralin at 1.0 kg a.i./ha control weeds effectively.
Mulching can also be done to reduce the number of weeds.
Make sure to mix and rotate herbicides to prevent weeds from developing herbicide resistance.
*A must Read: Guide to bio fertilizers
Pest in Chilli farming
- Broad Mites
Sprinkling miticides is recommended such as:
Dicofol with 5 ml per litre,
Wettable sulfur with 3 gm per litre or,
Pegasis with 1 gm per litre or,
Vertemic with 0.5 ml per litre.
Sprinkler irrigation with overhead irrigation helps to manage mites.
- Pod borers
Spodoptera litura and Helicoverpa armigera pheromone traps are useful for monitoring this pest.
To control this pest organically, plant sunflowers along the borders to attract ovipositing moths, thus saving your main crop from infestation.
Spodoptera caterpillars can be controlled by placing poison baits (8:1:1 bran, jaggery, chloripyriphos) close to the plants (25 kg bait is sufficient for one hectare).
Another effective pest control method is to apply foliar sprays of Bacillus thuringiensis (BT) at a recommended dose at an early stage of pod borer infestation. For example, an application of Dipel can be made at 4 ml/liter, which is 1 liter/ha with a power sprayer.
During epidemic situations, Indoxacarb @ 1 ml per liter or Spinosad @ 0.3 ml per liter can be used.
Furthermore, the use of nuclear polyhedrosis virus (NPV) was found to be an effective control method for Spodoptera and Helicoverpa at an early stage of infestation.
- Melon Thrips
Seeds should be treated with imidacloprid (Gaucho) at 5 grams per kilogram and application of imidacloprid @ 1 ml in 3-4 liters of water or Fipronil @ 2 ml per liter is preferable.
- Aphids
Spraying a very weak soap solution on aphids is an effective way of removing them. Frequent applications are not recommended as they can damage the crop.
Hover flies and ladybird beetles are natural predators of aphids. The best way to naturally control aphids is to attract them to the fields. To attract these natural enemies of aphids, plant bright flowers around them, such as marigolds.
Aphids can be effectively managed using Dimethoate @ 2 ml or Acephate @ 1 gram per liter or Imidacloprid @ 1 ml in 3-4 liters if the infestation is severe.
Diseases in Chilli farming
- Bacterial Leaf Spot
Dark, greasy spots are found on the leaves, petioles, and tender parts of the plant. Green fruits have water-soaked spots. Leaf loss can cause the crop to suffer a significant loss.
The disease can be controlled by spraying Agrimycin – 100 K at 200 ppm in addition with Copper Oxychloride 0.3 percent.
- Leaf Curl
Infected leaves become small, curly, and turn downward when affected by this disease. Severe attacks may result in leaf loss. Thrips and aphids, for example, are the most common insect vectors of the disease.
Dimethoate (Rogor-30 EC) and Monocrotophos (Monocil) may be sprayed on the crop at 1 ml per litre of water to control this disease.
- Damping Off
Chilli seedlings are affected by this serious disease in their nursery beds. The disease causes seedlings to rot at ground level and then the seedlings fall over. Patches of dead seedlings develop in the nursery.
Before seeds are planted in fields or nursery beds, formalin should be sprayed over the soil. Before sowing, seeds should be treated without water (30 minutes at 52 degrees Celsius) or with Cerasan or Agrosan G.N. Fungicides should be applied regularly to seedlings.
- Anthracnose
Dark sunken spots appear on chillies, and pink or dark coloured dots appear in the center of the spots. These spots cause the fruits to rot and fall off.
It may also cause “Die back” of the twigs. Die back disease primarily affects the top portion of the plants, spreading gradually downward; branches subsequently dry out.
A moist climate, shade, and heavy dew are the main causes of this disease.
Control measures for this disease include treating seeds with Cerasan before planting, pruning and burning of infected plants or branches, and spraying with Mancozeb (Dithane M-45) at 2.5 grams per litre of water.
Harvesting and Yield in chilli farming
Traditionally, chillies are harvested by hand and full-grown chillies are plucked from the plants. Selective and disease-free picking of chillies can be accomplished with this method, which suits Indian conditions.
We recommend harvesting during the early mornings. Avoid harvesting during rain or just after rain.
Harvesting fruits requires holding stalks firmly and gently pulling up the fruit to break the base of the stalk.
When preparing dry chillies, be careful not to let the fruit ripen or over ripen.
It is not a good idea to delay harvesting because delayed harvesting causes poor quality produce.
It is best to pile the harvested fruits indoors for 2-3 days to allow the partially ripened fruit to develop a uniform red colour. (This should not be practised when trying to export the chillies. Chillis with red colour or red patches have lower price in export).
The ideal temperature for ripening is 22-25 degrees C, and direct sunlight should be avoided, as it can cause white patches to appear.
One more reason for immediately storing chillis in storage is because chillis might start developing red patches (these are not harmful). The chillis with red patches are not preferred for exporting and will reduce the export price considerably. (or may even lead to cancellation of the export consignment)
If the crop is of good quality, instead of selling it in the local market, it is advisable to sell it in the APMC markets of major cities (especially Mumbai). Here exporters are willing to pay higher prices.
For dried red chillies
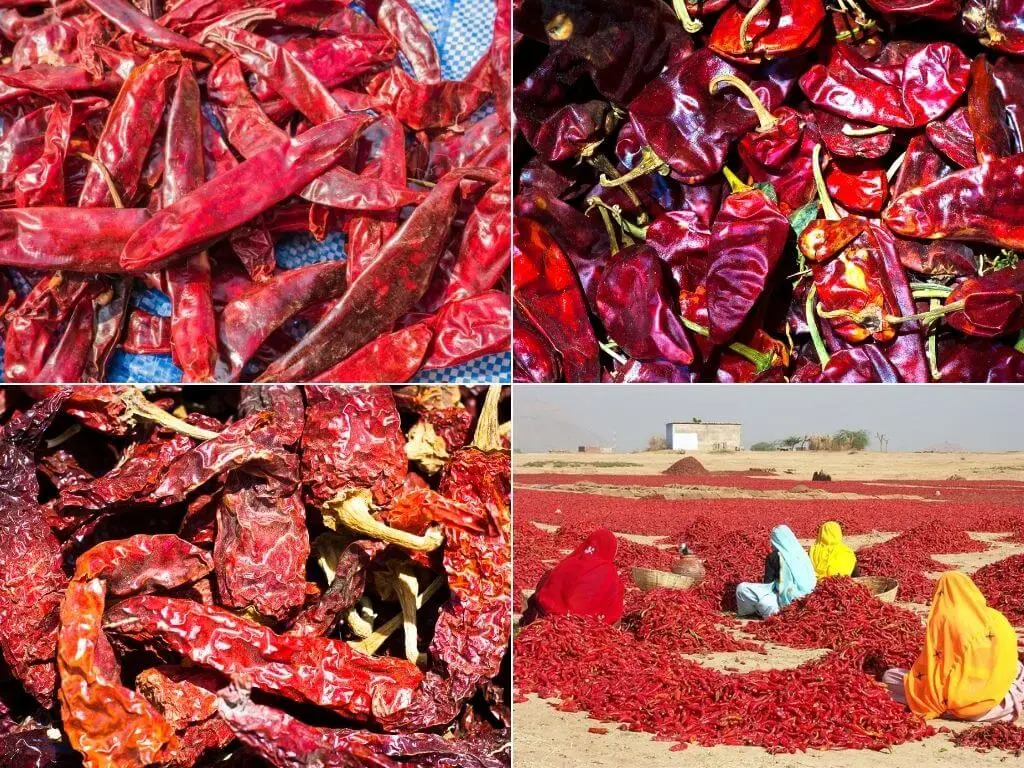
For dried chillies, spread the ripen pods on clean, dry polythene sheets in a cement drying yard to dry in the sun.
Dry pods should have a moisture content of 8-10%.
By switching to solar dryers for drying, the drying process can be sped up.
You should stack chillies 50 to 60 cms away from the wall.
To control insects, periodic fumigation with methyl bromide and phosphine is effective.
If chilli has to be stored for a prolonged period, it should be covered with a moisture-proof plastic liner (polythene bags) and kept between 0-10 degrees Celsius with 65 to 70 percent humidity in cold storage.
For transport from the field, plastic field crates may be used instead of sacks to avoid mechanical damage.
